While there are four types of database objects in Access, tables are arguably the most important. Even when you're using forms, queries, and reports, you're still working with tables because that's where all of your data is stored. Tables are at the heart of any database, so it's important to understand how to use them.
In this lesson, you will learn how to open tables, create and edit records, and modify the appearance of your table to make it easier to view and work with.
Throughout this tutorial, we will be using a sample database. If you would like to follow along, you'll need to download our Access 2016 sample database. You will need to have Access 2016 installed on your computer in order to open the example.
Watch the video below to learn more about working with tables in Access.
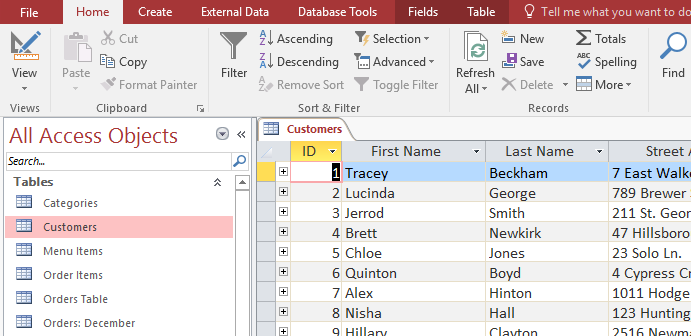
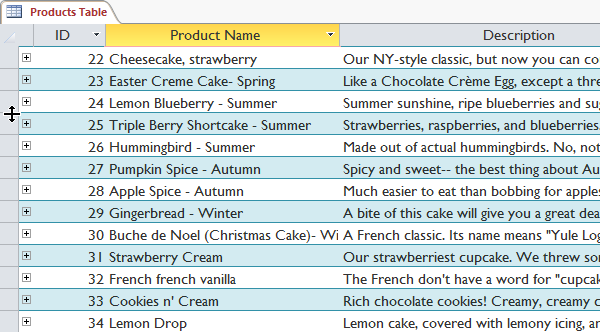
All tables are composed of horizontal rows and vertical columns, with small rectangles called cells in the places where rows and columns intersect. In Access, rows and columns are referred to as records and fields.
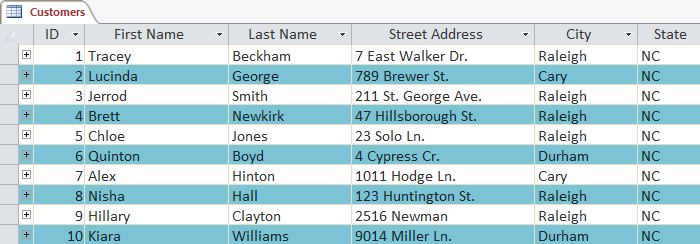
A field is a way of organizing information by type. Think of the field name as a question and every cell within that field as a response to that question. In our example, the Last Name field is selected, which contains all the last names in the table.
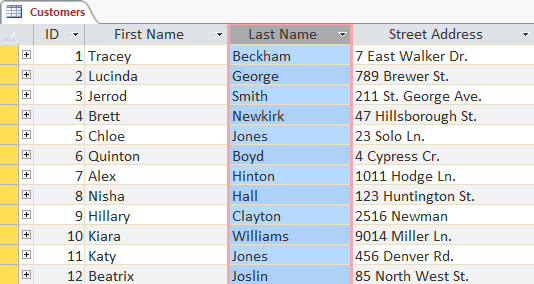
A record is one unit of information. Every cell on a given row is part of that row's record. In our example, Quinton Boyd's record is selected, which contains all of the information related to him in the table.
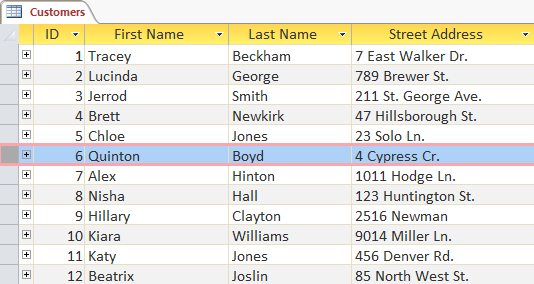
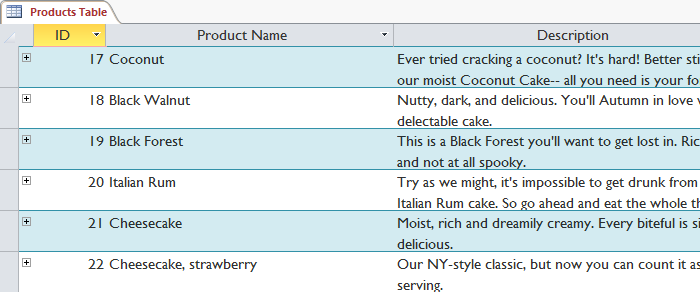
Each record has its own ID number. Within a table, each ID number is unique to its record and refers to all of the information within that record. The ID number for a record cannot be changed.
Each cell of data in your table is part of both a field and a record. For instance, if you had a table of names and contact information, each person would be represented by a record, and each piece of information about each person—name, phone number, address, and so on—would be contained within a distinct field on that record's row.
Click the buttons in the interactive below to learn how to navigate a table.
edit hotspots
The Records command group on the Home tab contains a handful of commands for working with records, including New Record, Save Record, and Delete Record.
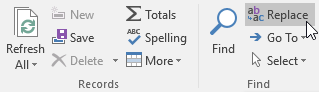
The Find command allows you to search for any term in your table.
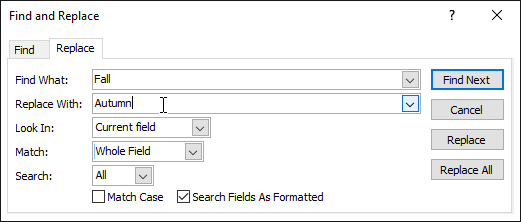
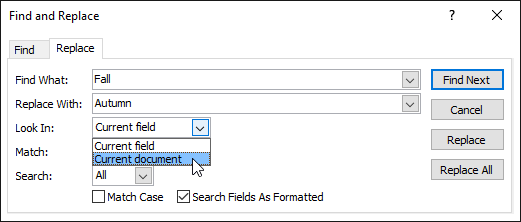
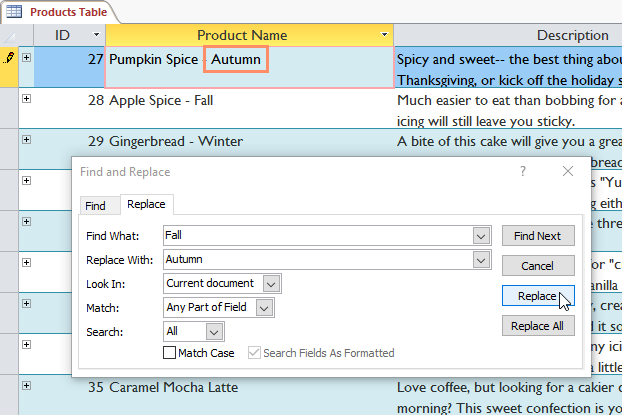
The Replace command allows you to search for any term in your table and replace it with a new one. For example, you could replace the word Fall with the word Autumn.
These formatting options allow you to make your table easier to read by adding an alternate row color or modifying the gridlines that separate individual rows and columns. You can access even more formatting options by clicking the arrow in the bottom-right corner.
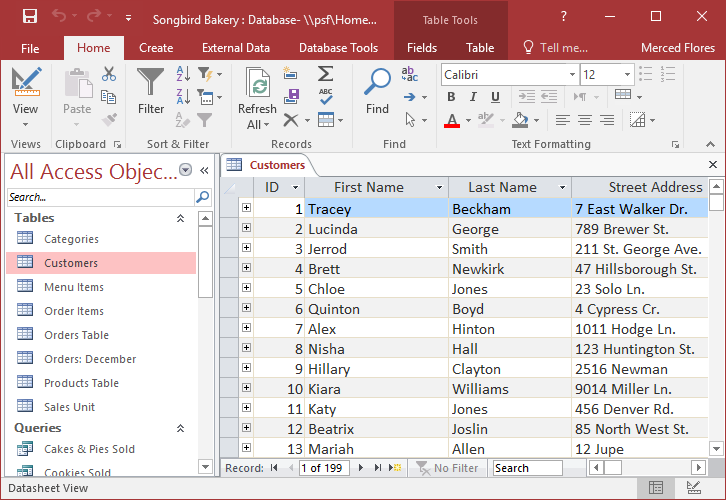
In Access, columns are referred to as fields. When you organize your data by entering it into different fields, you are organizing it by type. Each field contains one type of data. The type of data contained within a field is described by the title at the top of each field.
In Access, table rows are referred to as records. A record is a unit of data that includes every piece of information in a given row.
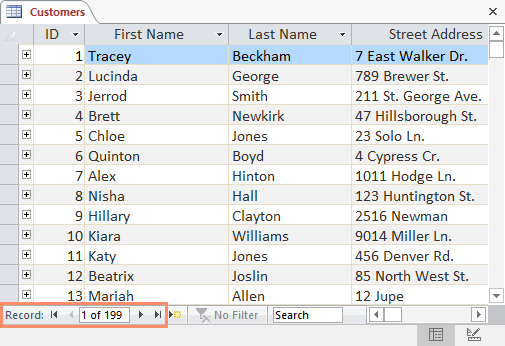
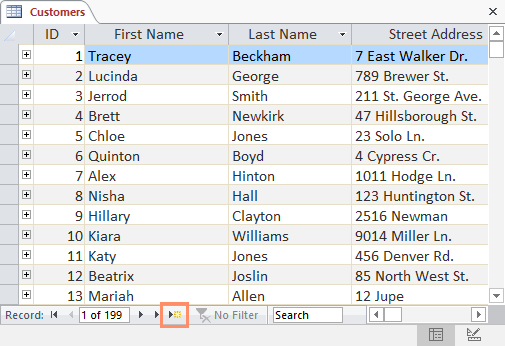
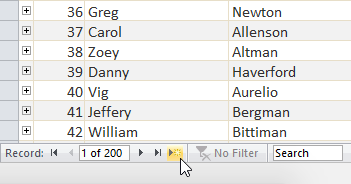
The Record Navigation bar allows you to navigate through records one at a time. Click the arrows to move from record to record, and navigate directly to a record by searching for it with the record search box. You can also use the Record Navigation bar to add a new record to the current table.
The bar at the bottom of the table contains many commands to help you search or scroll through records.

To navigate between fields, you can use the left and right arrow keys or scroll left and right.
Entering data into tables in Access is similar to entering data in Excel. To work with records, you'll have to enter data into cells. If you need help entering data into records, you might want to review our Cell Basics lesson from our Excel 2016 tutorial.
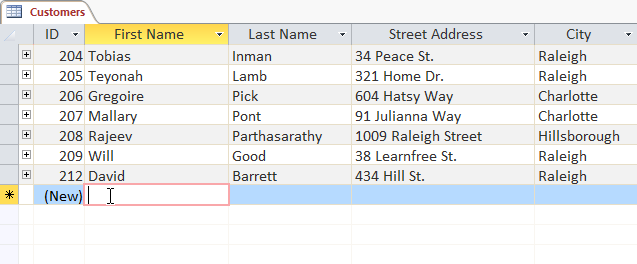
There are three ways to add a new record to a table:

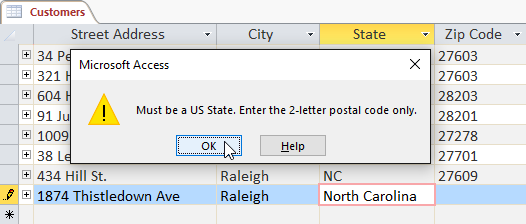
Sometimes when you enter information into a record, a window will pop up to tell you that the information you've entered is invalid. This means the field you're working with has a validation rule, which is a rule about the type of data that can appear in that field. Click OK, then follow the instructions in the pop-up window to re-enter your data.
Access is designed to save records automatically. After you enter a record, you can either select a different record or close the object, and Access will save the record. However, in certain situations you many want to save a record manually. For example, if you needed to edit an existing record, you could save the record to ensure your changes are saved.

To quickly edit any record within a table, you can click it and type your changes. However, Access offers you the ability to find and replace a word within multiple records and delete records entirely.
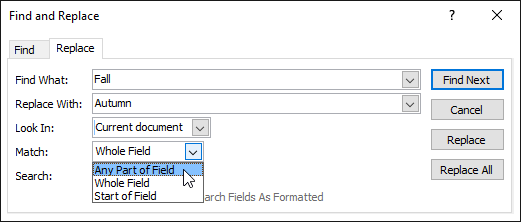
You can edit multiple occurrences of the same word by using Find and Replace, which searches for a term and replaces it with another term.
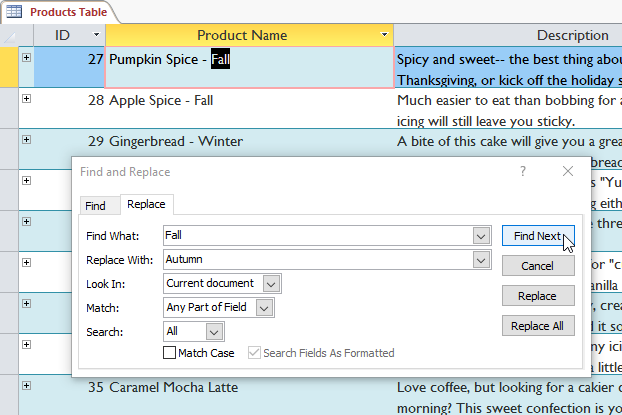
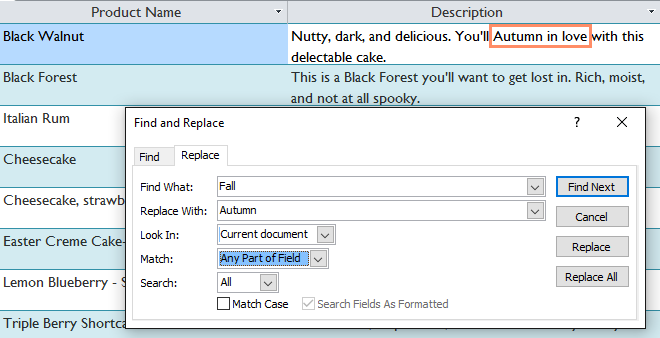
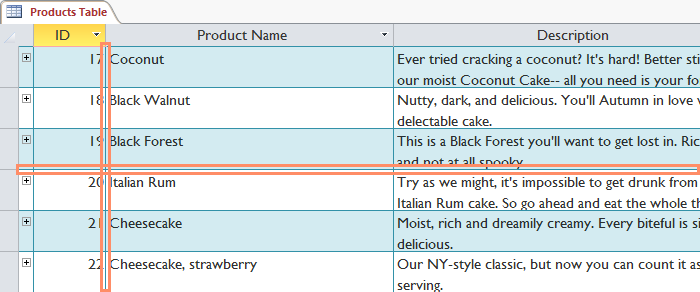
The Replace All option is powerful, but it may actually change some things you don't want to change. In the example below, the word fall did not refer to the season, so replacing it with Autumn would be incorrect. Using the normal Replace option allows you check each instance before replacing the text. You can click Find Next to skip to the next instance without replacing the text.
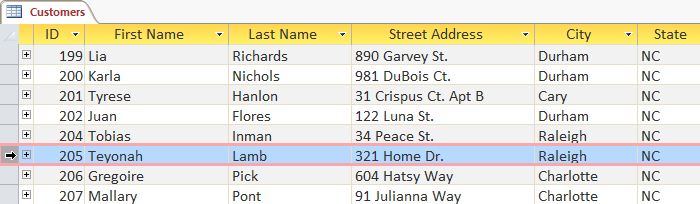

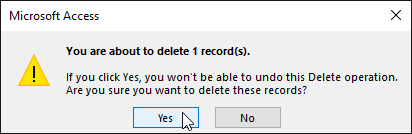
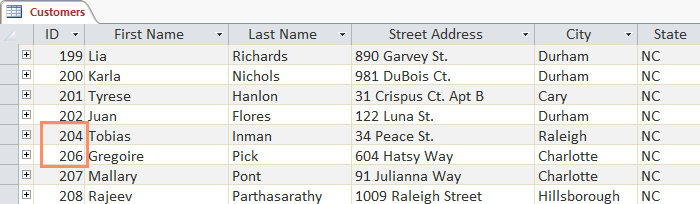
The ID numbers assigned to records stay the same even after you delete a record. For example, if you delete the 205th record in a table, the sequence of record ID numbers will read . 204, 206, 207 . rather than . 204, 205, 206, 207 .
Access offers various ways to modify the appearance of tables, including resizing fields and rows and temporarily hiding information you don't need to see. These changes aren't just about making your table look good; they also can make the table easier to read.
Watch the video below to learn more about customizing tables.
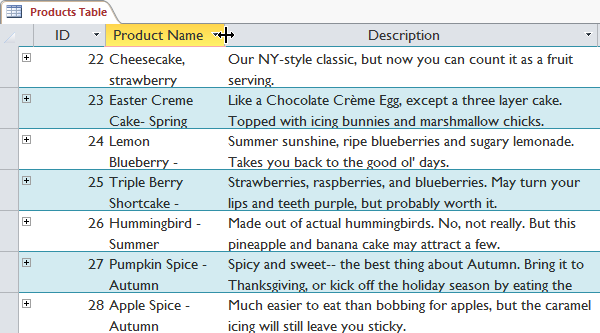
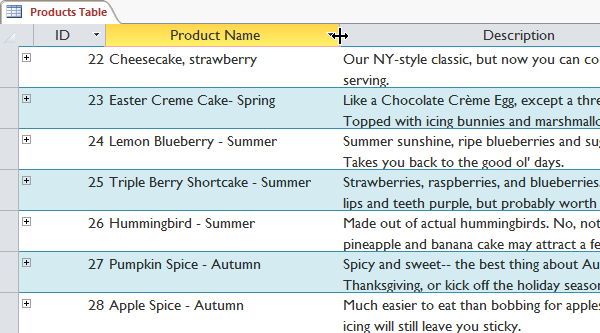
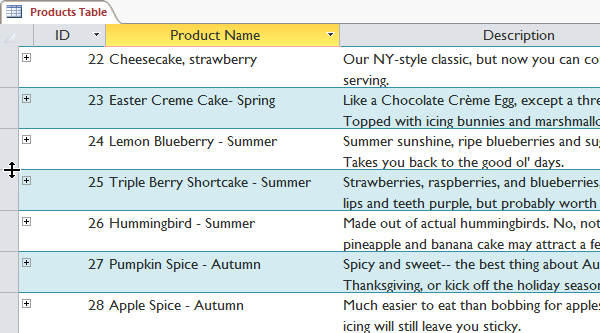
If your fields and rows are too small or large for the data contained with them, you can always resize them so all of the text is displayed.
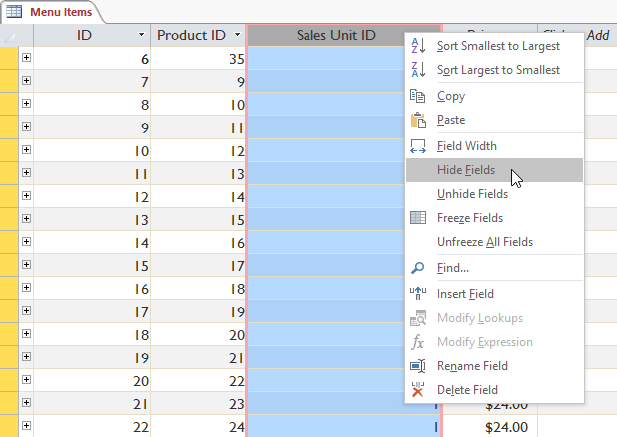
If you have a field you don't plan on editing or don't want other people to edit, you can hide it. A hidden field is invisible but is still part of your database. Data within a hidden field can still be accessed from forms, queries, reports, and any related tables.
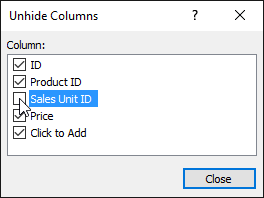
If you decide you want the field to be visible again, you can unhide it. Simply right-click any field title, then select Unhide Fields. A dialog box will appear. Click the checkboxes of any fields you want to be visible again, then click Close.
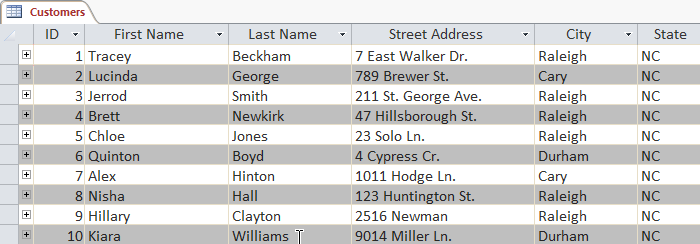
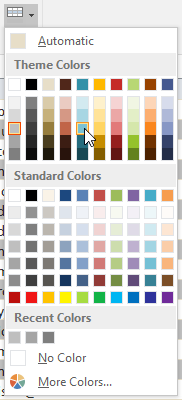
By default, the background of every other row in an Access table is a few shades darker than the background of the rest of the table. This darker alternate row color makes your table easier to read by offering a visual distinction between each record and the records directly above and below it.

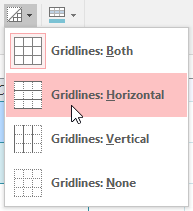
Another way Access makes your tables easier to read is by adding gridlines that mark the borders of each cell. Gridlines are the thin lines that appear between each cell, row, and column of your table. By default, gridlines are dark gray and appear on every side of a cell, but you can change their color and hide undesired gridlines.

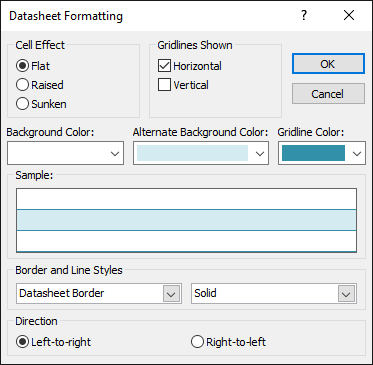
To view additional formatting options, click the Datasheet Formatting arrow in the bottom-right corner of the Text Formatting group.
![]()
The Datasheet Formatting dialog box offers several advanced formatting options, including the ability to modify background color, gridline color, and border and line style. It even includes the ability to view a sample table with your formatting choices, so play around with the various formatting options until you get your table looking the way you want it.